

Natural Bridge is one of those Death Valley spots that rewards you for doing almost nothing. A 1-mile walk up a gravel wash, maybe 30 minutes of actual hiking, and you’re standing under a 15-foot natural rock arch that took millions of years to form. It’s not the park’s headline attraction, but it probably should get more attention than it does.
I’ve visited Death Valley more times than I can count, and Natural Bridge is one of those spots I keep coming back to. The canyon narrows, the light does interesting things against the rock walls, and you get this sense of being somewhere genuinely old. Not old in a historical sense. Old in a geological, “this rock has been here for 5 million years” sense.
Know before you go
- Distance: 1 mile round trip to the bridge, ~200 feet of gain. Easy.
- Time needed: 30 to 60 minutes round trip.
- Location: Off Badwater Road, ~13 miles south of Furnace Creek, then 1.5 miles of graded dirt.
- Best time: November through March. Early morning for light and to beat the heat.
- Summer warning: Temperatures top 120°F with no shade here. Avoid midday June through September.
- Park fee: $30 per vehicle (7 days) or the $80 America the Beautiful pass.
- Facilities: None at the trailhead. No water, no restrooms, no cell service.
- Bring: At least 2 liters of water per person, sun protection, sturdy shoes.
What Is Natural Bridge?
Natural Bridge is exactly what it sounds like. A 15-foot rock arch spanning a narrow slot canyon about 2 miles south of Artists Palette along Badwater Road. The bridge formed over millions of years as flash floods carved through volcanic mudstone, gradually undercutting the rock until an arch remained.
The canyon itself is made of Tertiary-era volcanic rock, which gives the walls their reddish and tan layered appearance. You’ll notice the different strata as you walk in. Some layers are harder than others, which is exactly how the bridge formed in the first place. Water found the softer rock, carved it away, and left the harder rock spanning overhead.
Love Death Valley? It's one of 117 threatened public lands destinations we're tracking. Get the free briefing.
What makes this spot different from, say, the arches in southeastern Utah is the geology. Those are sandstone. This is volcanic. The textures are completely different, rougher and more jagged, and the canyon walls feel tighter because you’re walking in a wash rather than across open slickrock.
The Natural Bridge Hike
Distance 1 mile round trip to the bridge (2 miles if you continue past it)
Elevation gain About 200 feet
Difficulty Easy
Surface Gravel wash, uneven in places
Time 30-60 minutes to the bridge and back
The trail starts from a small parking area at the end of a short unpaved road off Badwater Road. Most cars can handle the road without issue. I’ve done it in a standard sedan more than once.
From the parking lot, you walk directly into the canyon on a gravel wash. There’s a gradual uphill grade the entire way to the bridge, which means the walk back is a nice, easy downhill. The canyon walls rise around you almost immediately, and by the time you’re halfway in, you’re flanked by 30-foot rock faces on either side.
The bridge itself spans the canyon about half a mile in. You’ll see it overhead as the canyon makes a slight turn. It’s bigger than it looks in photos, about 15 feet across, and the way it catches light from above is one of those things that’s hard to capture on camera but striking in person.
Past the Bridge
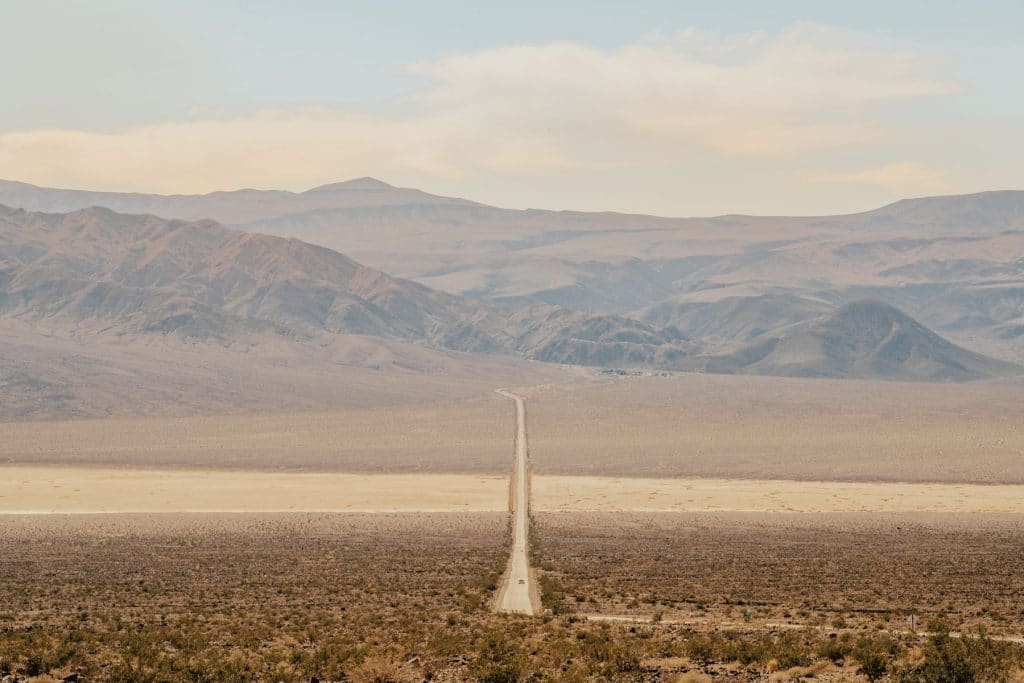
Most people turn around at the bridge. I’d encourage you not to. The canyon continues for another mile or so beyond the arch, and it gets more interesting the deeper you go. The walls narrow further, the rock layers become more pronounced, and you’ll likely have the whole thing to yourself. The extra mileage is flat to slightly uphill and you can turn back whenever you want.
If you’re doing the full out-and-back past the bridge, budget about 90 minutes and bring extra water.
Photography Tips
Morning is the time to be here. The canyon runs roughly east-west, which means morning light filters down through the opening and hits the bridge from the side. The warm light on the volcanic rock is genuinely beautiful. By midday, the sun is directly overhead and the canyon goes flat. You lose all the dimension and contrast that makes the shot work.
Bring a wide-angle lens. The canyon is tight enough that you won’t be able to back up far enough for a standard focal length to capture the bridge in context. I typically shoot at 16-24mm in here. A polarizer helps cut the glare off the rock walls, especially if there’s any moisture from a recent rain.
The view back down the canyon from the bridge is worth a shot too. You get a long view through the narrow canyon walls with the valley floor visible in the distance. On a clear winter morning with low-angle light, it’s one of the more underrated compositions in the park.
When to Visit Natural Bridge
November through March is the sweet spot. Death Valley’s summer temperatures regularly hit 120+ degrees, and this canyon has almost no shade. A hike that’s pleasant in January becomes genuinely dangerous in July.
Spring (March and April) is also solid, and you might catch some wildflower blooms in the surrounding desert if it’s been a wet winter. The earlier in the morning you arrive, the better. You get the good light for photography AND you beat the heat, even in the cooler months.
I’d avoid summer entirely unless you’re starting before sunrise and finishing before 9 AM. Even then, it’s a gamble. Carry at least 2 liters of water per person regardless of when you go.
How to Get There
Natural Bridge is on the east side of Death Valley, off Badwater Road. From the Furnace Creek Visitor Center, head south on Badwater Road for about 13 miles. The turnoff for Natural Bridge is on the left (east) side of the road, marked with a small brown sign. From there, it’s about 1.5 miles on an unpaved road to the trailhead parking lot.
The unpaved road is washboarded but passable for most vehicles. I’ve driven it in a compact car without issues. If it’s recently rained, check conditions at the visitor center first, as flash floods can wash out sections of the road.
The trailhead sits between two of Death Valley’s most popular stops. Artists Palette is about 2 miles north, and Badwater Basin is about 12 miles south. It makes a natural stop on any Death Valley itinerary that includes the Badwater Road corridor.
Practical Details
Entrance fee $30 per vehicle (7-day pass) or free with an America the Beautiful Pass
Facilities None at the trailhead. No water, no restrooms, no shade structures. The nearest facilities are at Furnace Creek, 13 miles north.
Cell service Don’t count on it. I’ve had spotty reception at the parking lot and nothing in the canyon.
What to bring
- At least 2 liters of water per person (more in warmer months)
- Sun protection. Hat, sunscreen, sunglasses. The walk to and from the canyon mouth is fully exposed.
- Sturdy shoes. The gravel wash is uneven and you’ll be walking on loose rock.
- A wide-angle lens if you’re shooting photos.
More Death Valley
Natural Bridge is a quick stop, but Death Valley has enough to fill several days. Here are some resources to help you plan the rest of your trip.
- 25 Things to Do in Death Valley National Park
- Death Valley Itinerary (1 to 3 Days)
- 9 Best Death Valley Campgrounds
- 15 Death Valley National Park Facts
- Artists Palette (Death Valley’s Best Spot)
- 9 Best National Parks Near Las Vegas

What to Bring to Death Valley
Gear we recommend for Death Valley. Affiliate links support our work at no cost to you.
More Than Just Parks may earn a small commission from purchases made through these links, at no extra cost to you. We only recommend gear we would actually use.
Affiliate disclosure: Some links on this page earn us a small commission at no extra cost to you. We only recommend gear we actually use.
More Than Just Parks Film Watch our 8K film of Death Valley We spent weeks in Death Valley, one of our favorite public lands destinations, capturing it the way it deserves. Take a few minutes and see it for yourself.


